This post may contain affiliate links, meaning I may receive a commission if you purchase through my links. I only recommend products I have personally tested or have thoroughly researched. All opinions are my own. Please read the full disclosure for more information.
Making your own foaming hand soap is way easier than you would think. Plus, it doesn’t cost hardly anything, and is an excellent way to extend the life of your soap supply. Kids love to play with foamy textures, which is a great way to encourage hand hygiene at an early age. And, one of the best parts about making your own foaming soap is that if you use an unscented base, you can easily add your own unique smells using essential oils to create whatever mood you want.
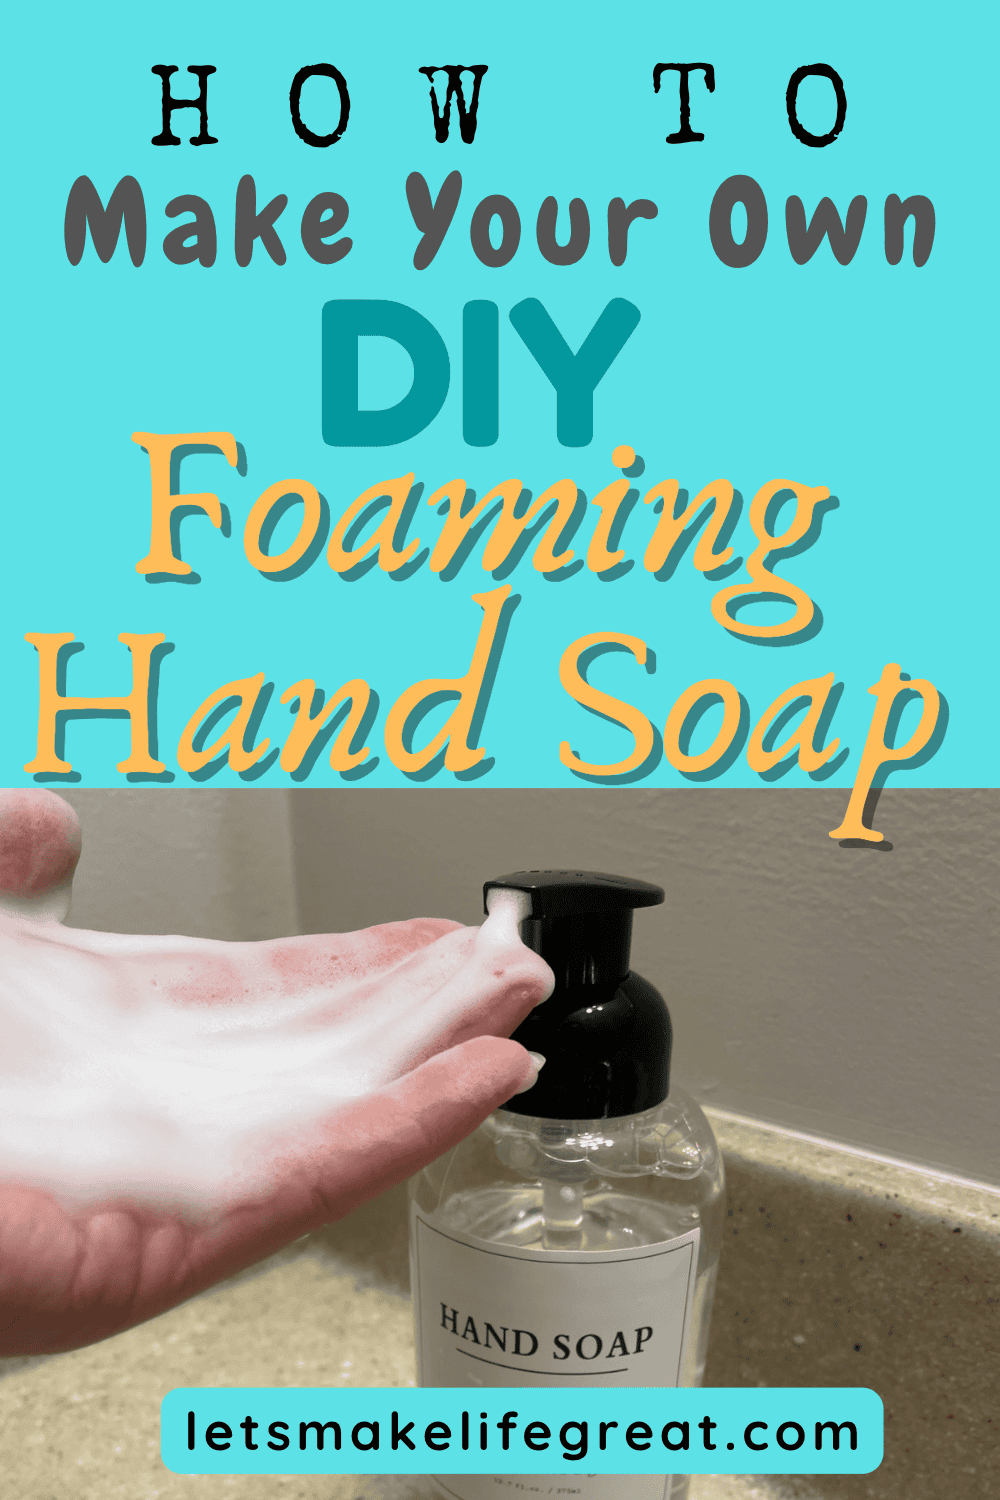
Here’s the step by step process on how to make the #1 easiest DIY foaming hand-soap recipe.
1. Use a Foaming Soap Dispenser
So, before you even start mixing anything together you will need a foaming dispenser. The reason you can’t use any old soap dispenser is that the foaming ones push air into the nozzle as you push the pump. And voila, foamy bubbles!
I found this awesome glass foaming dispenser set on Amazon for around $20. It works great and creates a really soft foam with excellent lather.
While almost any foaming hand dispenser will work, I like to use this glass one since the base is heavy enough to stay in place. Plus it will last longer than a plastic one, and looks amazing.
While plastic dispensers may work okay I don’t like the thought of using plastic when I could instead be using glass.
2. Use a Regular liquid soap
This can be Dawn dish soap, Dial, Soft soap, or any other brand that you would have otherwise put in a regular soap dispenser. I use Groves Hydrating hand soap since it is already infused with amazing, wonderful smelling essential oils. Plus, the Grove brand is eco-friendly and ethically produced. They use 100% plant based ingredients, and are non-toxic and cruelty free.
So not only are you saving money by making your own foaming soap with Groves liquid soap, but you are also benefitting the environment.
Or, if you are a fan of Castile soap, this luxurious liquid is also excellent for foamy fun! I have also used this brand of Castile soap. I’ve used it for a face wash, body wash, and even to shave with.
I love using it to shave. It creates an amazing lather even without a foaming dispenser. But, when added to a foaming dispenser, it creates some of the best foamy goodness!
And you may think it sounds a bit strange, but Castile soap can even be used to wash vegetables.
3. Measure and Mix the Ingredients
The recipe for foaming soap is very simple and really only requires dilution of the liquid soap. In most cases a standard 1:4 ratio will work with 1 part liquid soap, and 4 parts water. How over if your base soap is a bit more runny or doesn’t produce as much lather as you would like, you may need to try a 3:5 ratio instead. 3 parts liquid soap, 5 parts water.
Measure your ingredients and pour them into a large cup or bowl to stir. I would recommend a Tupperware container to store any extra mixture. This will help reduce any messes.
Now instead of shaking your ingredients to mix them, I recommend stirring them. This prevents excessive foaming when mixing and prevents overfilling of your container. Plus I have found that this incorporates everything more evenly. Manually stir with a utensil for about 1-2 minutes at a gentle speed.
But, if you’re pinched for time, shaking works well too.
Once everything is well mixed, use a funnel to pour your mixture into the foaming dispenser. Leave about a 1/2” gap of air in the dispenser. This is about the width of your pinky finger.
Now you get to enjoy your fluffy foaming soap!
Storing Extra Mixture
If you have any mixture left over you can store it in an air tight container and top off your soap as it depletes. However, I would not recommend mixing much more than you can use in a 30 day timeframe. This doesn’t seem very long, but over time the mixture separates more and is less effective at cleaning.
Is Foaming Soap Better than Liquid?
Both soaps have their advantages. Studies have shown that plain liquid hand soap is more effective at removing bacteria than foaming soap. This is due to the time it takes to manually create a lather, the time it takes to rinse off the soap and the fact that it is undiluted.
Now foaming soap is still effective at removing germs and dirt, but not nearly as much as liquid soap. The advantage to foaming soap is that it is more economical. It costs less in the long run, and uses less material and less water, therefore saving money and resources. This is why it is an excellent choice for in the home. Plus, it works well to encourage kids to wash their hands.
Many kids prefer foaming soap over liquid because of the fluffy foam. Is is fun to play with, and easy to rinse off.
Plus when you create your own foaming soap, you can add your own flair to it. Essential oils are an excellent way to bring fun scents and other qualities to your hygiene game.
Oils like tea tree are a natural anti-bacterial oil. Lavender is calming, and citrus is energizing. And there are tons of great seasonal combinations too!
Try cinnamon oil, or peppermint oil for that wintery, smelly goodness.